PV phase 1 complete

hermitdave

Member
Joined
Aug 12, 2018
Messages
254
I managed to install 4x 250w secondlife panels earlier this week and wired the Growatt 1500s yesterday.
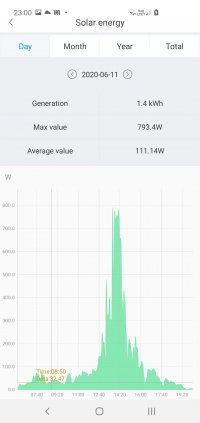
Considering it was very miserable for most of the day, it was good to see it generating enough for background usage for an hour today

The router is mounted on external wall and I added WiFi module for monitoring.

Next phase PV diverter using Mk2PVRouter. Has anyone played with it?
image_blfjzb.jpg
image_wwhfwe.jpg
 
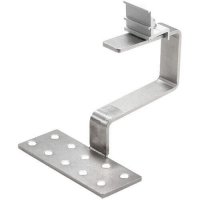
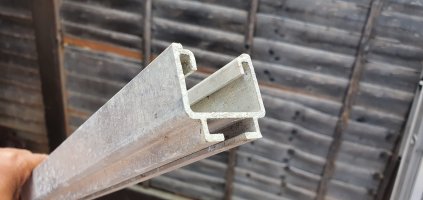
Using Clenergy univeral roof brackets - the company i used also have easy mount rail but i decided to reuse original rail that came with the panels.

image_sojxhb.jpg


The original rail

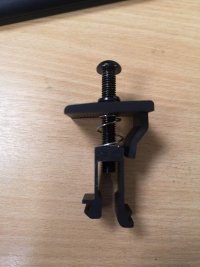
image_mmvdjf.jpg


The mid / end clamp

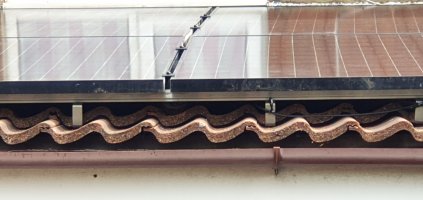
image_rsqtgd.jpg


The mounted panels
image_atolrf.jpg

Top view
image_wbvnsm.jpg


The inverter
image_humbes.jpg


When going the 4th and last panel I realised that panels were at a slight angle. Will fix that at later date

I purchased the mounting brackets, mid / end clamps, crimped cables, inverter and wifi module from TripleSolar UK. Very helpful lot.
 
Nice install!

Yes sir, I have a (cement) tile roof and used similar roof mounting brackets (Solar Roof Hooks)-> Ironridge rails. The multi-hole plate is important so you can offset (left or right)to the studs to keep it from hitting the tile to the side. Here's a 2m video showing how they install - its doable by DIY :)

image_ykpbbm.jpg
 
OffGridInTheCity said:
Nice install!

Yes sir, I have a (cement) tile roof and used similar roof mounting brackets (Solar Roof Hooks)-> Ironridge rails. The multi-hole plate is important so you can offset (left or right)to the studs to keep it from hitting the tile to the side. Here's a 2m video showing how they install - its doable by DIY :)

image_ykpbbm.jpg

I used angle grinder like you did on the latter tiles. For the top row I tried to use a tile file.
I might pull them out and redo them in coming months as we are discussing small extension over that roof ?

The joist screws from my supplier were a bit better

image_ymgnye.jpg
 
I was advised (and used) these. The other big tip was to screw them in at an angle from both sides of where you think the stud is (instead of 'straight down')... and this increases the chance you'll find the stud. This tip worked really well for me :)

image_krrnow.jpg
 
I felt the joists under the felt and adjusted the brackets correctly.
It feels good seeing it work. Sure so far it has only generated enough to power dishwasher but better that than nothing right?
 
Back
Top